
Pottery Basics
“Pottery is the art of slow revolution—of spinning earth and waiting for stillness.” — Unknown
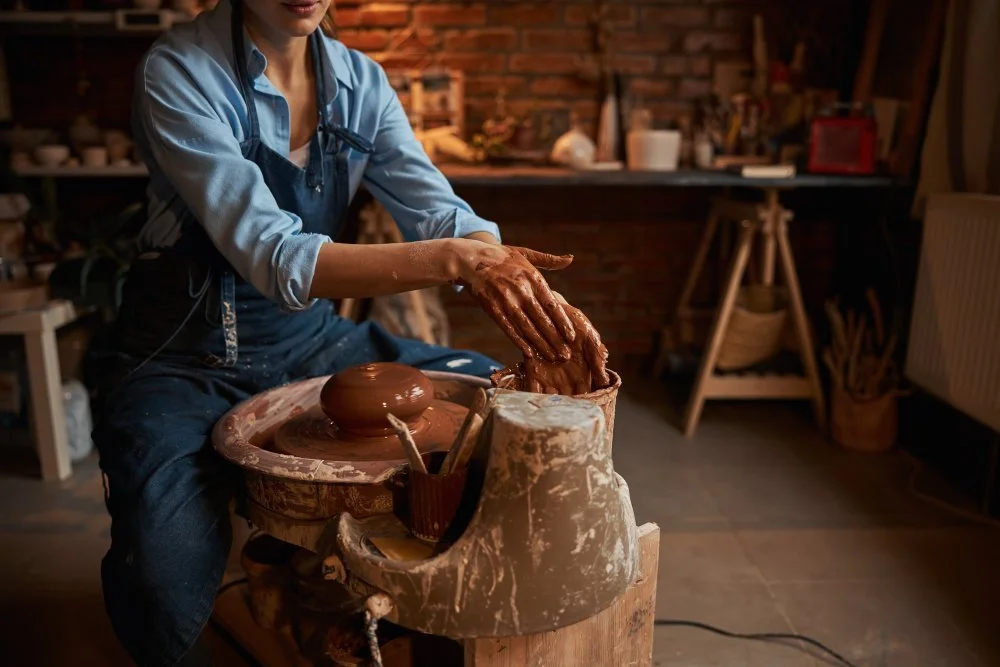
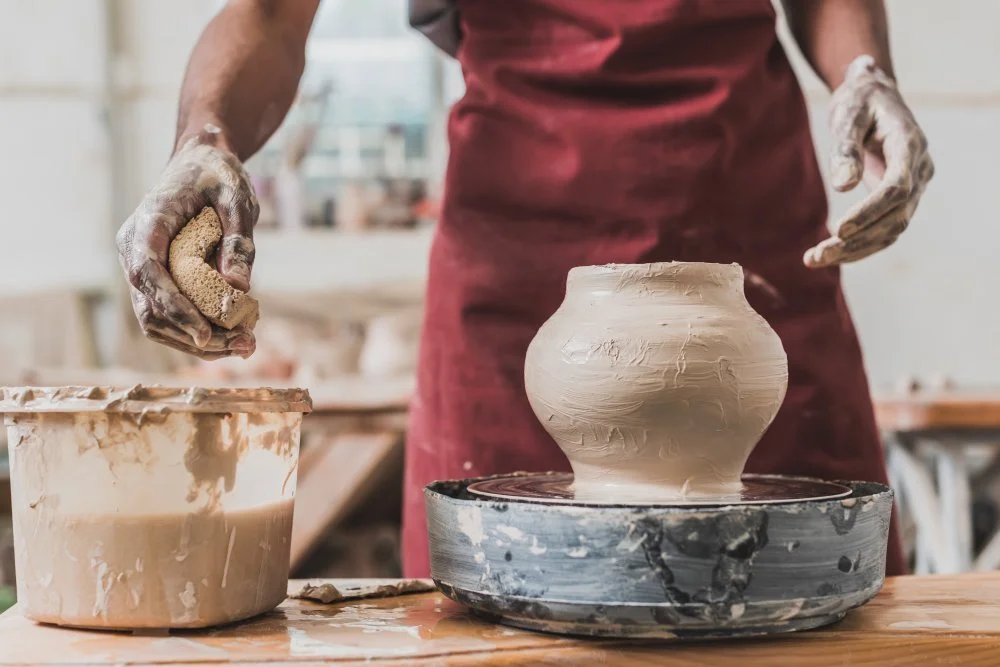
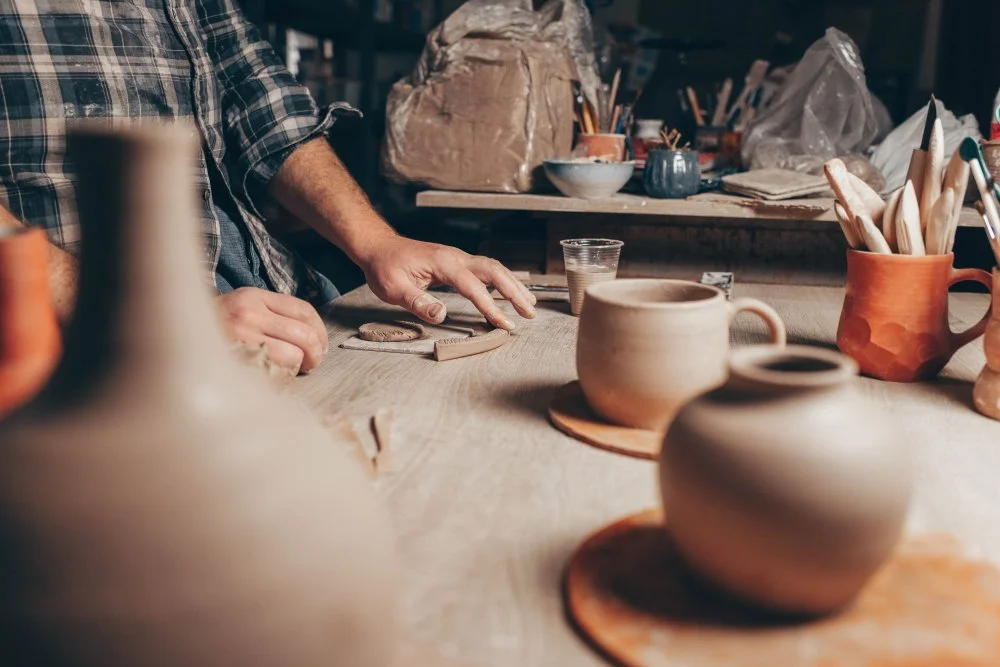
Getting started with pottery is both exciting and grounding—it connects creativity with hands-on craft. The first step is deciding how you want to work with clay: hand-building, wheel-throwing, or both. Hand-building involves forming pieces using simple tools and techniques like pinching, coiling, and slab construction, making it great for beginners with limited equipment. If you're interested in throwing pottery on a wheel, you’ll need access to a potter’s wheel and a bit more practice to develop the technique.
You can begin by finding a local pottery studio or community center that offers beginner classes. These provide access to equipment like kilns and wheels, as well as instruction on clay handling, forming techniques, and glazing. If you prefer to try it at home, you’ll need some basic supplies: clay (such as earthenware or stoneware), simple tools like a sponge, wire cutter, and wooden modeling sticks, and a flat, clean work surface. While hand-building requires little more than your hands and imagination, firing your pottery does require a kiln, which is why many beginners still use a studio or kiln service to finish their pieces.
As you learn, you’ll also experiment with decorating techniques and glazing. Glazing adds color and a waterproof finish, but it also involves chemistry and timing, so many potters start with basic premade glazes. Safety is important too—wear old clothes, keep your workspace clean, and use a mask when handling dry materials. Most of all, be patient. Pottery is a slow art: you’ll make mistakes, your pieces might crack, and the kiln may surprise you—but every piece teaches you something.
The Wheels
Pottery wheels revolutionized the art of ceramics by enabling potters to craft vessels with precise radial symmetry, far beyond the limitations of hand-building alone. This innovation opened the door to more refined, consistent forms and faster production. Pottery wheels come in both electric and manual varieties, allowing artists to choose the method that best suits their style and pace.
The Kiln
Pottery kilns are essential for transforming raw clay into finished ceramics through high-temperature firings. The first stage, called a bisque firing, hardens the clay body, while the second, the glaze firing, melts and fuses glaze to the surface. Kilns are typically powered by either electricity or gas. Electric kilns are the more common choice in both home and professional studios due to their ease of installation and operation, requiring only a stable and safe electrical connection. They're especially well-suited for low- and mid-fire clay. Gas kilns, on the other hand, are preferred for high-fire clays and are capable of reduction firing, a process that creates richer, earth-toned finishes and unique surface textures. While gas kilns can produce dramatic results, they often require special permits and more complex ventilation setups, making electric kilns a more accessible option for most potters.
The Clay
Clay is one of the most abundant and versatile raw materials used in creating ceramic objects. Its composition can vary widely, and different blends of clay, silica, and other minerals produce a range of ceramic types with unique textures, strengths, and firing temperatures. While working with clay is generally safe, it’s important to be aware of the risks associated with dried clay dust. This dust often contains silica, a fine particulate that can remain airborne for hours and pose serious health risks when inhaled. To stay safe, always wear a proper mask when handling dry materials, be aware of the ingredients in the clay you’re using, and whenever possible, work with premixed, moist clay bodies to minimize airborne dust.
The Glaze
Glazes are applied to pottery either when the clay is leather-hard or after it has been bisque fired. Their primary functions are to strengthen the surface and render the pottery waterproof. Composed of silica and various minerals, glazes melt during firing and then solidify into a glassy coating that bonds to the clay. For best results, glazes must be compatible with the clay body in terms of firing temperature. Both clays and glazes are typically rated using the cone system—a scale that measures heat work, which accounts for both temperature and time during the firing process. Matching the cone rating of your glaze to that of your clay ensures proper melting and adhesion.
Basic Materials
Clay – Types include:
Earthenware (low-fire)
Stoneware (mid/high-fire)
Porcelain (high-fire, more refined)
Water – For keeping clay workable and cleaning tools.
Glaze – For decorating and waterproofing finished pieces.
Slip – Liquid clay used for joining or decorating.
Essential Tools
Potter’s needle – For trimming, scoring, and detail work.
Wire cutter – To slice clay from blocks or off the wheel.
Ribs and scrapers – For shaping and smoothing surfaces.
Loop and ribbon tools – For carving and hollowing.
Sponge – To smooth surfaces and keep clay moist.
Fettling knife – For cutting and shaping.
Wooden modeling tools – For hand-building and shaping.
Calipers – For measuring dimensions, especially lids.
Optional but Useful Tools
Banding wheel – A spinning platform for hand-building.
Texture tools – Stamps, rollers, lace, leaves, etc.
Brushes – For applying slip, underglaze, or glaze.
Extruder – To create uniform coils or handles.
Major Equipment
Pottery wheel – For wheel-thrown work.
Kiln – Electric, gas, or wood-fired, needed to fire your pottery.
Work surface/table – Preferably with a smooth, non-porous top.
Storage shelves – For drying and staging work.
Ventilation – Important when working with glazes or firing kilns.
Safety Gear
Apron or old clothes
Dust mask or respirator – Especially when mixing dry clay or glaze.
Gloves – When handling certain chemicals in glazes.
Eye protection – If grinding or trimming fired ware.
“Art is not a thing, it is a way.”
There’s a special kind of cool that comes with having your own enamel camping mug. With its classic design and durable finish, it feels like a throwback to simpler times—rugged, timeless, and ready for anything. Whether it's clipped to your pack or warming your hands with morning coffee, an enamel mug isn’t just gear, it’s part of your story. Chips and scratches only add character, turning it into a personal artifact of every trail walked, fire lit, and sunrise watched. People collect these - but, first you have to find them throughout the site.
.: 12oz (0.35 l)
.: Lightweight stainless steel
.: Rounded corners
.: Lead and BPA-free
.: Please note: Do not microwave